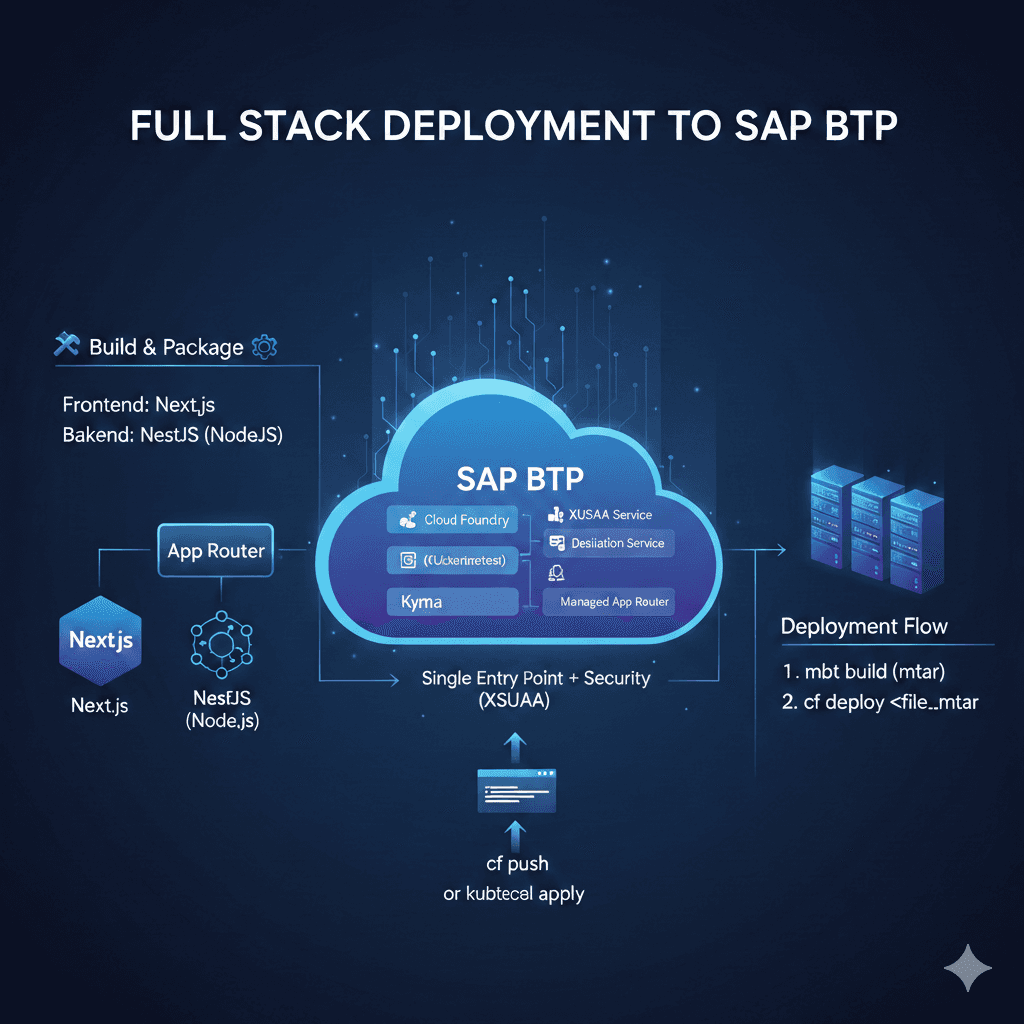
Deploy Full Stack Application to SAP BTP
You have 2 deployable workloads.
apps/api: NestJS API (Node.js service) + Prisma + PostgreSQLapps/web: Next.js frontend (Node.js app)
On SAP BTP, the most common target is Cloud Foundry (CF). Kyma/Kubernetes is also possible, but CF is the fastest path for Node apps.
Step 0 — 2 quick choices (I need these from you)
- Runtime
- Cloud Foundry (recommended)
- Frontend hosting model
- Next.js as a Node app on CF (simple, but uses memory)
Step 1 — Prereqs on your machine
Install Cloud Foundry CLI (
cf)Install MBT (Multi-Target Application Build Tool) if using MTA (
mbt)Access to a BTP subaccount with Cloud Foundry enabled:
Org
Space
Login:
cf api https://api.<cf-region>.hana.ondemand.com
cf login
cf target -o <org> -s <space>
Step 2 — Provision required BTP services
A) Database (PostgreSQL)
You need a PostgreSQL service on BTP CF.
Common options:
A Postgres offering available in your landscape (varies by region)
Hyperscaler service broker (if enabled)
If Postgres is available:
cf marketplace | grep -i postgres
cf create-service <postgres-service> <plan> sap-connector-db
Then later you’ll bind it to the API and map to DATABASE_URL.
B) Auth (optional)
If you later want SAP standard auth:
- XSUAA (recommended for CF) Not required if you keep current JWT-only setup.
Step 3 — Make both apps BTP/CF-friendly
A) Ensure API listens on process.env.PORT
Cloud Foundry injects PORT. Nest must listen on it. (Many Nest apps use 3001 hardcoded—verify.)
In apps/api/src/main.ts(Change based on folder stracture), ensure:
const port = process.env.PORT || 3001;await app.listen(port);
B) Configure Prisma for CF
Keep
DATABASE_URLfrom env.Typical flow:
On deploy/start: run migrations (or
prisma db pushif you’re not using migrations)Then start Nest
C) Next.js on CF
Ensure it runs with:
next buildnext start -p $PORT
Step 4 — Deployment descriptors
You can deploy via (Option 1) manifests or (Option 2) MTA.
Option 1 (simpler): 2 separate CF apps using manifest.yml
You deploy api and web independently.
API manifest example:
App name:
sap-connector-apiCommand: run prisma + start
Bind DB service
Set env:
JWT_SECRET, etc.
Web manifest example:
App name:
sap-connector-webEnv:
NEXT_PUBLIC_API_BASE_URL=https://sap-connector-api.<domain>/api
Then:
cf push -f manifest-api.yml
cf push -f manifest-web.yml
Option 2 (enterprise): MTA (mta.yaml)
Best if you want “one deploy” that creates:
api module
web module (approuter optional)
db service
xsuaa (optional)
If your org uses CAP/MTAs standardly, choose this.
Step 5 — Wire routing between web and api
You have two common patterns:
Pattern A: Web calls API via full URL
Set
NEXT_PUBLIC_API_BASE_URLto the API route URLCORS must allow the web route
Pattern B (more SAP-standard): Approuter in front
Deploy an approuter (Node) that routes:
/api/*→ api service/→ web app
Enables XSUAA integration cleanly
Step 6 — Deploy and verify
Push DB service, API, WEB
Verify API health:
- Your API has
/api/health(based on Nest global prefixapi)
- Check logs:
cf logs sap-connector-api --recent
cf logs sap-connector-web --recent
- Run migrations/seed as needed:
- Either as part of start command or one-off CF task:
cf run-task sap-connector-api "pnpm prisma db push" --name db-pushcf run-task sap-connector-api "pnpm prisma db seed" --name db-seed